
Skateboard Grip Tape: Which to Buy and How to Apply It Bubble-Free
You go for an ollie. You crouch, snap the tail with your heel… and your foot slips. The board shoots out sideways and you end up on the ground staring at your hands.
It isn't your technique. It's your grip tape.
Grip tape is the only part of your skateboard that touches your shoes directly, and it's also the most ignored. It sands itself down with every trick, fills with dust, loses grit… and one day it stops gripping. The worst part is that the wear is so gradual you don't notice: you think you've gotten worse, when really your board has stopped responding.
The good news: fixing it costs under €12 and fifteen minutes. In this guide I'll tell you how to know if your grip is dead, what to look for before buying a new one, which one we use, and how to apply it without bubbles.
Want to cut to the chase? This is the one we recommend:
See the COSOOS grip tape on Amazon →€11.99 · 115 × 27 cm · #1 best seller · Free 30-day returns
5 signs your grip tape is asking to be replaced
If two or more of these sound familiar, your board has been working against you for a while:
- Shiny or smooth patches. Look at the nose and tail: where the grit is gone it looks polished. There's no grip left there.
- Your foot slides on flips. Especially when catching the board in the air.
- Lifted edges. If the grip is peeling at the corners, water and dust get in and it only gets worse.
- Bubbles or wrinkles. Besides looking bad, they're dead spots where your foot slips.
- It got wet. Grip tape that has taken on moisture loses adhesive and grit for good.
As a reference: if you skate several times a week, your grip will last between 2 and 4 months. If you go out occasionally, well over six months.
What to look for before buying grip tape (no nonsense)
All grip tape looks the same: black and rough. But four things separate a good one from one that'll give you trouble.

1. The grit: silicon carbide, not aluminum oxide
This is the factor. Silicon carbide is what real skate grip tape is made of: it grips hard and lasts. Cheap grip tape uses aluminum oxide, which rounds off in weeks and goes from gripping to slipping. If the listing doesn't say what the grit is made of, be suspicious.
2. The adhesive
Grip tape that lifts at the edges after two weeks is money wasted. Look for adhesives that hold up in extreme heat and cold — in summer, hot asphalt and a car trunk really put them to the test.
3. Make sure it's perforated (the bubble trick)
This detail will save you a headache. Modern grip tape has thousands of invisible micro-perforations that let air escape as you stick it down. Translation: you can apply it yourself, bubble-free, first try. With non-perforated tape, even people who've been gripping boards for years end up with balloons.
4. The size
A standard deck needs about 83 × 22 cm. Buying a bigger sheet isn't wasting money: you get leftover material to patch the nose, grip a scooter, or prep your next deck.
The one we recommend: COSOOS 115 × 27 cm
After looking at plenty of options, the best value we found is COSOOS grip tape. It ticks all four boxes above and costs under €12.
This isn't a blind recommendation: on Amazon it has 4.5 stars with over 920 ratings (76% of them 5 stars) and it's the #1 best seller in its category. When nearly a thousand people agree, it's doing something right.

What you get
- Silicon carbide grit with a proprietary bonding process: the grip doesn't disappear after two weeks.
- Perforated: applies bubble-free even if it's your first time.
- Solid thickness without feeling like a carpet: firm grip and a natural feel underfoot.
- Waterproof with a tear-resistant backing, so it cuts clean without ripping.
- 115 × 27 cm: covers any adult deck — including old school boards and longboards — with plenty to spare.
- Ships rolled in a rigid tube, not folded in a bag. Sounds trivial until you receive grip tape with a crease down the middle.
One buyer sums it up better than any spec sheet: "quality grip tape, it peels off the backing paper easily which makes it much more comfortable to apply. It's coarse grit, ideal for skate, surfskate or any personal mobility vehicle".
See price and reviews on Amazon →
In stock · Fast shipping · Free 30-day returns
How to change your skateboard grip tape step by step
Fifteen minutes and nothing exotic required: a screwdriver or file, a sharp utility knife, and a skate tool to remove the trucks.
1. Remove the old grip
Take off the trucks. Heat the old grip with a hairdryer for a couple of minutes: the adhesive softens and it comes off in one piece. If any glue remains, a little rubbing alcohol and a cloth will clean it up. The deck must be dry and residue-free, or the new tape won't stick properly.
2. Apply the new grip without bubbles
Peel back only a few centimeters of the backing paper at first. Line the tape up with the nose, stick it down there, and work toward the tail while peeling the rest of the paper gradually. Smooth with your palm from the center outward. With perforated tape, the air escapes on its own.
3. Score the outline
Run the edge of a screwdriver (or a file) firmly around the entire edge of the deck. You'll get a perfect white line marking where to cut. Don't skip this step: it's what separates a clean job from a sloppy one.
4. Cut
With the utility knife, cut along the white line keeping the blade at a 45° angle pointing outward. Start with the large excess and do it in one continuous pass, without sawing.
5. Finish the edges
Take the leftover scrap and sand the edge with it (grit against grit). It leaves the edge perfect and stops it from lifting with use. Finally, mark the bolt holes from underneath with a punch or a screw, and remount the trucks.
Four tips that make the difference
- Work warm. With the deck and tape at room temperature (not straight out of the car in winter) the adhesive bonds far better.
- Keep the leftovers. Use them to sand the edge, patch worn spots, or grip a scooter.
- Change the blade. A fresh blade cuts clean; a worn one tears the tape.
- Clean the grip now and then. A stiff wire brush pulls out the dust and brings back a good part of the grip. Adds months of life.
Pros and cons (being honest)
Pros
- Silicon carbide grit: real grip that lasts
- Perforated: applies bubble-free first try
- Large sheet (115 × 27 cm): plenty of material to spare
- Waterproof and cuts clean, doesn't tear
- Ships rolled in a tube, no creases
- #1 best seller with 4.5★ and over 920 ratings
- Under €12 with free 30-day returns
Cons
- The grit is coarse: it grips hard, but wears out your shoes faster. That's the price of control.
- There are two colors (black and camo) and camo isn't for everyone. If in doubt, go black.
- 5% of ratings are one star — mostly application issues. Follow the steps above and it won't happen to you.
- For a standard deck there's quite a bit of sheet left over. A bonus if you have two boards; "extra" if you only have one.
Is it worth it?
Think about it this way: wheels cost €30, trucks €50, a new deck €60. Grip tape costs under €12 and it's the part that most affects how your skateboard feels underfoot.
It's the cheapest upgrade you can make to your board and the one you notice from the first push. If you've spent months fighting tricks that used to come easy, change the grip before you change anything else. And if you're not sold, Amazon takes it back free within 30 days.
Buy the grip tape on Amazon (€11.99) →
#1 best seller · 4.5★ with over 920 ratings · Free returns
And if fingerboard is your thing?
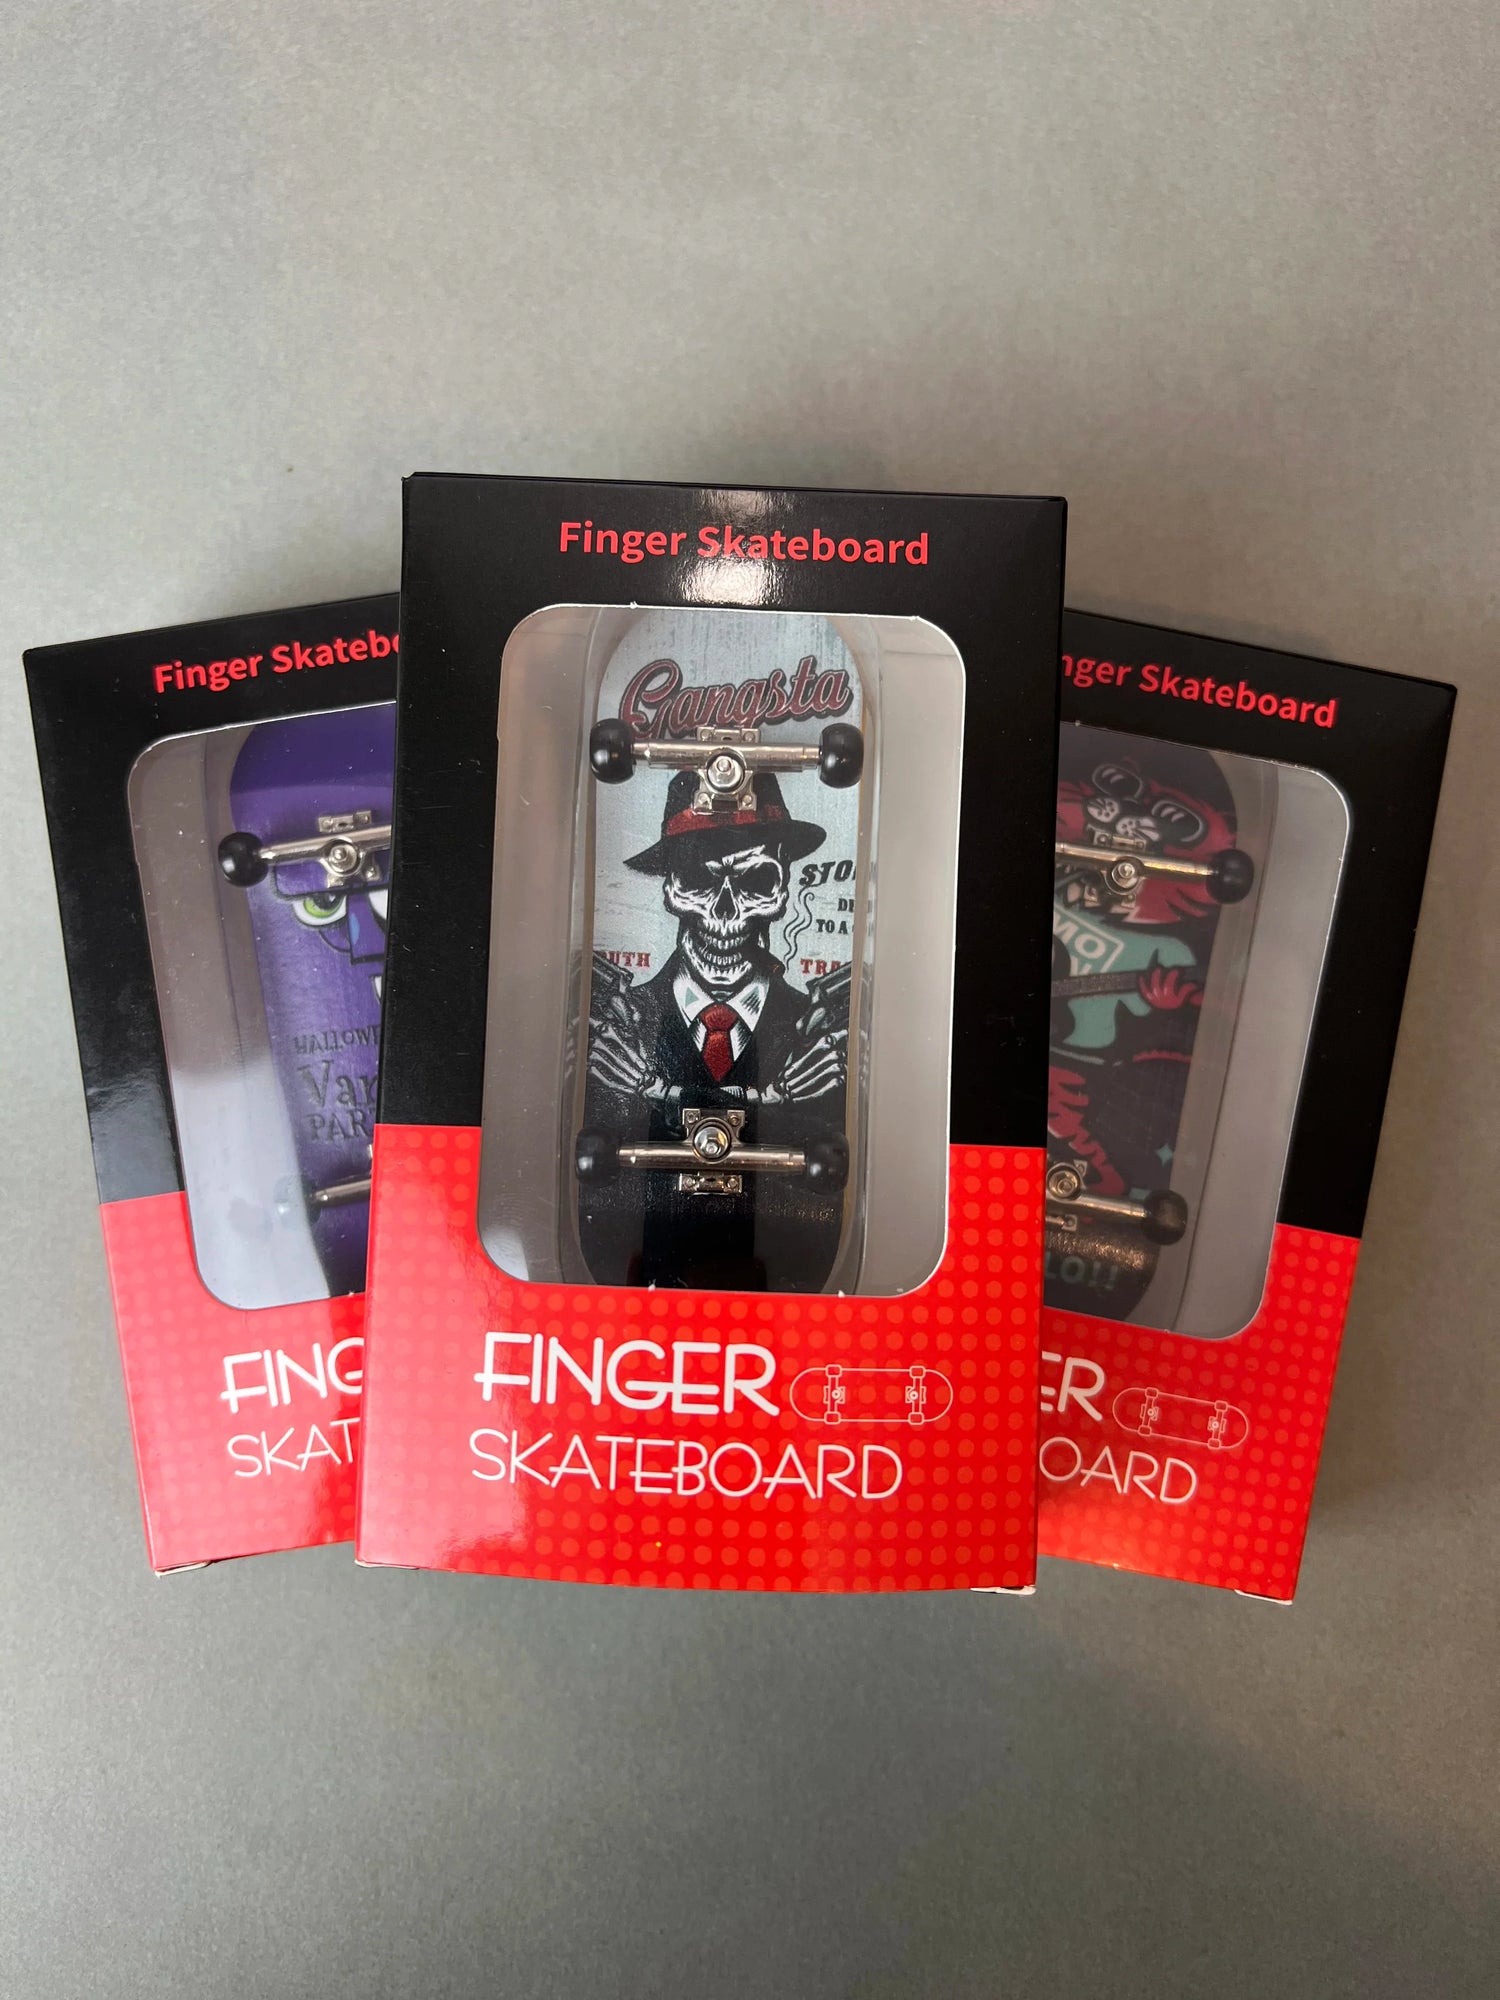
The principle is exactly the same in miniature: no grip, no trick. If you skate with your fingers, take a look at our 34 mm grip tape and stickers, cut to size for fingerboards, and our professional fingerboards.
And if you film your tricks too, don't miss our guides to the fisheye lens for your phone and the best tripod for filming.
Frequently asked questions
How often should you change skateboard grip tape?
It depends on use. Skating several times a week, between 2 and 4 months. Occasionally, it can last over six months. The clear sign is when shiny or smooth patches appear and your foot starts slipping on flips.
What size grip tape do I need for my board?
A standard deck needs roughly 83 × 22 cm. A 115 × 27 cm sheet covers any adult board, including old school decks and longboards, and leaves material to spare for touch-ups.
How do you apply grip tape without bubbles?
Use perforated grip tape (with micro-perforations that let air escape), peel the backing paper gradually from nose to tail, and smooth with your palm from the center outward. That way no bubbles form even on your first try.
Can you reuse old grip tape?
No. Peeling it off ruins the adhesive and damages the grit. You can, however, keep the offcuts from the new tape to sand edges or patch worn spots.
Does this grip tape work for scooters or longboards?
Yes. Being a 115 × 27 cm sheet that can be cut to size, it works for skateboards, longboards, surfskates and adult scooters. It's also used on steps and pedals thanks to its waterproof, non-slip backing.
What's the difference between silicon carbide and aluminum oxide?
Silicon carbide is harder and keeps the grit's edge much longer, which is why it's the standard in skate grip tape. Aluminum oxide rounds off sooner and the tape loses grip within weeks.
Disclosure: this article contains Amazon affiliate links. If you buy through them, Finger3flip may earn a small commission at no extra cost to you. We only recommend products we stand by. As an Amazon Associate, we earn from qualifying purchases.